Showing posts with label Practical Task. Show all posts

Thursday, 25 February 2016

Prop Creation- Practical task

Prop Creation- Practical Task
For our castle scene, we needed to make it look like it was the killer's lair as well as his home. We had big things to put in the castle like a work table and a mattress which indeed would imply that he was sleeping there but we wanted props that would really make the castle feel realistic and so the group decided that the best way to do this was attention to detail; having smaller props that aren't necessarily essential to the scene but just are an extra touch that the killer may actually have in his living area. The space was fairly big so filling it up was always going to be a challenge but we all were able to bring items from our own homes to the castle.
 This is my mini chessboard and I thought that it might look quite mysterious and give another side to the killers personality. It makes him look lonely because he hasn't got anyone to play with but it also adds to the plot behind a lot of his schemes; it implies that he's a good game-player, he's manipulative and is always one step ahead- like you have to be in chess to win. Having a set up chess board in his castle makes him look like he practises when he has spare time so he's prepared for any move the other player makes.

I then also decided that the killer would need food in his lair to survive. I questioned what sort of food a killer who was crashing in an abandoned castle would eat; he wouldn't have very much money and also the castle is slightly medieval themed so normal packets of food would have looked out of place. Also using shop-bought food would have been product placement so I found a tin at home and peeled off the paper label. I then decided to make a sort of 'gruel' from oats and water to show how poor he is and is just living from basic rations. I then found an old teaspoon and figured that they could just be placed somewhere in the castle. 


I also thought that just scattering some dried pasta on the table would add to the simplicity of his basic rations. The audience wouldn't necessarily notice it but it is just another prop that makes the castle look more lived in.

This lamp I had looks old fashioned and because he doesn't have electricity he would need a source of light.
We also decided to make him have a more 'normal' side as well, almost like the part of him that he was  before he turned into a psychotic killer is still in him. Next to the mattress, we thought to put in a pile of classic old books as well as some newspapers which we thought made his character more interesting and gave him in another persona.
I also decided to buy some tea lights to create a more medieval feeling and again let the audience know that he's living on the bare minimum. Because of the wind, we had to put the candles into jars that Tia brought but this actually worked in our favour as the jars made the area look more rustic and because the flames didn't blow out they flickered and we got a really good shot of them clustered on a rock surface.


Overall we managed to gather together some good, realistic looking props which helped create a good atmosphere in the castle.


Sunday, 21 February 2016

Practical Task - Actors

The plot of our film opening requires a cast of three teenage girls and an adult male. Fortunately, we can use ourselves to star in the film, and for the most part the characters will look realistic. 

We chose to have the victims as teenage girls, as this conforms to the conventions of the slasher horror genre. It is common for teenagers to be among the main cast of slasher horrors, such as can be seen in Scream. Furthermore, we wanted the victims to be female as this conforms to the common representation of women as being victims and vulnerable in circumstances such as this. 

We chose Tia to be the main victim, partially because she volunteered and partially because she has the most athletic build and the character is jogging in the film. We filmed the all of the shots of the girl running in the forest next to Tia's house, and so practically it was a sensible decision to use Tia as the main the girl, as she could film any extra shots we might need after the initial dates of filming with ease. 


For the other two victims,  we used Amy and I. We did this because it was easier in terms of accessibility for us to use group members as actors. Amy and I seemed like the obvious choice, both for this reason and also because we both fit the features of a teenage girl in a horror film, both being teenage girls ourselves. Using ourselves also meant that as well as us being at filming anyway, we wouldn't have to rely on other people for the role.


The only actor we faced some trouble with was the killer. The killer is an adult man, and so the actor playing him had to look like an adult man, however we didn't have an adult man we could use, and so instead we used David. David's build can pass for that of an adult man, but if you see his face it is clear David is a teenager. He is also blonde and baby faced, which means he doesn't look scary or intimidating at all. As a result, we decided to have the character masked at all times. This actually worked out quite well, as it added an enigmatic tone to the opening as the identity of the killer is unknown. It also makes the whole scene more realistic as a film opening, as the killer's identity would not be revealed right at the beginning of the film. This also turned out to be helpful when we had to use Tia's boyfriend to step in so we could film a few extra shots that David couldn't make it to due to prior engagements.


Thursday, 18 February 2016

Costumes Practical Task - The Victim

For this task, I wanted to look at different outfit possibilities for what the victim of our opening sequence would be wearing. As she would be captured whilst on a run, she needed to be wearing running or sports gear, in order to make it look believable. At the same time, we needed her to look innocent and vulnerable. 

As I would be playing the victim, I was able to experiment with different outfits in order to see what looked right and presented me the way we had planned for our victim to look. Regarding hair, as mine is shoulder length blonde, we wanted to have it tied up, again adding to the sporty look. A ponytail worked best as plaits made me look too young and having it down didn't look as if I was on a run. When doing the ponytail, we would be able to mess it up slightly, making it look as if I had been running for a while, and also the hairdo can be easily replicated for each filming day. 


I tried four different outfits to decide which one looked best and fit the character of the victim in our opening sequence.


Outfit One - the first outfit I looked at was Nike sport top and Nike jogging bottoms. I thought that this outfit didn't look very sporty, as the bottoms look a bit like pyjama bottoms and I feel like it is lacking some colour, especially if the killer is wearing all black and we want the victim to stand out in the forest setting.


Outfit Two - This outfit is a sports top and black Nike shorts. Again, the outfit is very dark and may not be suitable for our victim. Also, we will be filming in winter and with shorts I will get very cold during filming, so overall this outfit will not be suitable for our victim.

Outfit Three - This outfit consists of a sport top, sport shorts but also a pair of leggings. With the addition of leggings, I will stay reasonably warm during filming. Also, there are a bright coloured pair of shorts, which will contrast with not only the setting but also with the attire of the killer.

Outfit Four - The final outfit I looked at is the warmest option out of all of them. It is a grey jumper and a pair of black leggings. This outfit is quite dark and may not stand out as much as we wanted. Although it will keep me warm, the grey jumper has embroidery of a school name on the front and my name on the back and so I don't think this is suitable as it makes the identity of the victim too obvious, something that we do not particularly want to focus on.

With all the outfits, I will be wearing a pair of Nike black running trainers with pink detailing.

The outfit needs to suitable for both the running scene in the woods but also the filming at the castle where she is tied up and needs to be physically wounded. This being said, we decided that we would use the short sleeved top and between shots ensure that I was wrapped up warm until I was needed on camera.

Overall, I decided that outfit three is best because the pinky red shorts made the victim look innocent, paired with the leggings, which are needed to keep me warm as it  is going to be cold because we are filming in December. The trainers are good as they are running trainers and the top is a training top. The outfit works well together, but I may potentially need to include a jacket depending on the weather - but similarly the short sleeves of the shirt may enable the victim to look vulnerable when tied up at the castle, highlighting wounds and also fear and the cold through goosebumps.

Editing Practical - Freeze Frames


For my editing practical, I wanted to try a technique I hadn't used before. To do this, I found a freeze frame tutorial on YouTube and taught myself how to create the same effect on Final Cut Pro. I then found a short video of a snowboarder completing a forwards flip off of a ski jump and decided to use the freeze frame to stop the boarder at different points during the flight.

Firstly, I imported the video into the software, and chose specific points where I wanted him to freeze. I wrote down these times and then went back to the footage, stopping it at these times. I then took a screen grab of the point at which it had stopped and saved it to my desktop, with the file name of the time at which it was taken. I repeated this until I had all the different freeze points that I wanted.

Then, I imported all of the screen shots so that they started at the points which they were taken, and dragged out the duration to match the original footage. At this point, when the project is played, the flight stops at the first freeze and does not continue. 

First, I needed to change the filter of all of the screenshots, and then adapt this to enhance the darkness of the figure, so that there is a large contrast between the snowboarder and the background of the sky. I added the filter to all of the screenshots and changed it to 'darken'.

I then needed to use the mask tool (located on the far right of the screen) to highlight only the snowboarder in each of the screenshots, otherwise the whole of the screen will freeze and be seen for the duration of the footage. This was tricky as the mask tool gives you three pointers to drag around the selected area, but as the snowboarder is a funny shape and the sky changes colour during the jump, I needed to be accurate. Experimenting with the different elements of the mask tool available, I was able to increase the 'feather' and 'rounded' effect on each, making the mask closer to the outline of the snowboarder.


Finally, I imported a song from YouTube called 'A Beautiful Life' by Tim McMorris and fit it to my footage. I then trimmed all the clips so that they were exactly the same length. 

The final product is attached below. If I were to do it again, I would have less freeze frames of the snowboarder in the sky, possibly by using a longer clip. Also, I would be more precise with the mask tool to ensure the ultimate accuracy.

Tuesday, 16 February 2016

Practical Task- Story Board

Practical Task- Storyboard
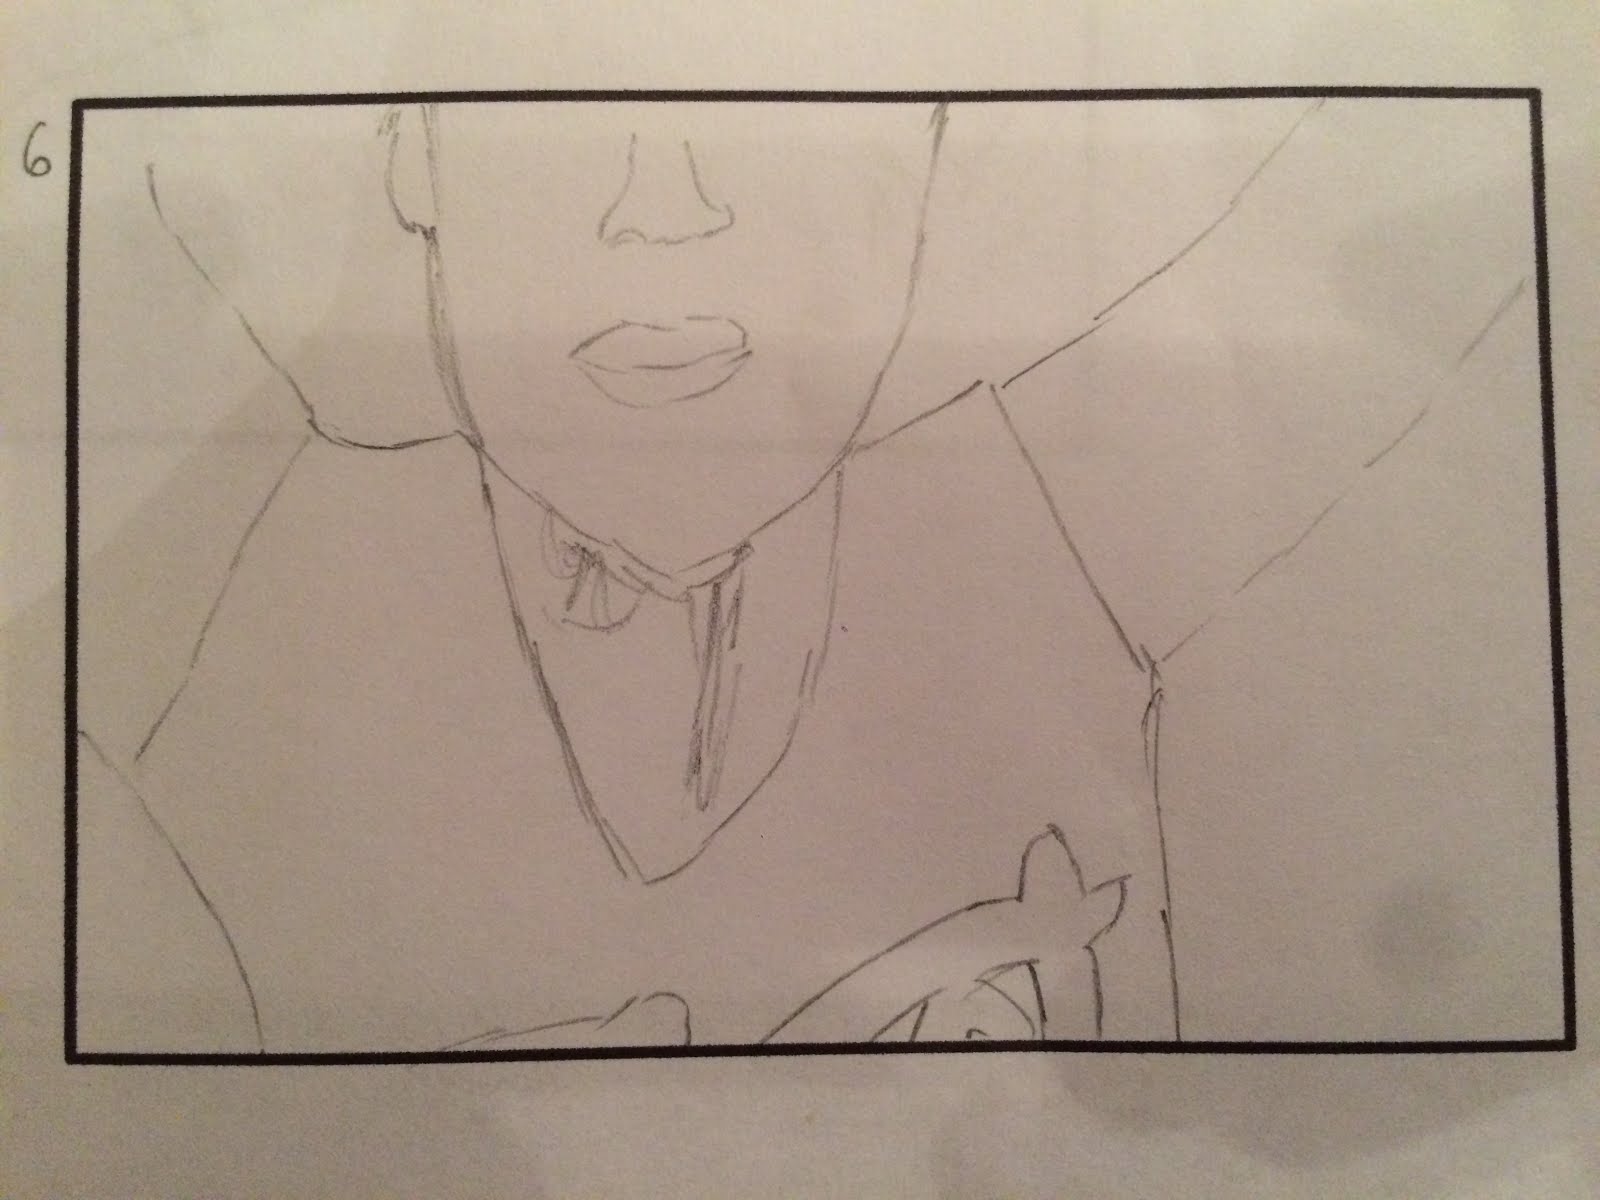
Creating a storyboard allows the whole group to be able to visualise the opening scene so when it comes down to filming, everyone is on the same page to how the narrative goes. Unlike our first storyboard, we rethought the sequencing of the opening and decided to flip the two opposing halves of the opening round, starting with the castle scene and then doing a jump back to the forest scene; the group felt that this worked better and visually looked more impressive as well. 


Using a variety of shots will enable us to be more creative with our editing and will create a more original opening. Using a storyboard too will also ensure that all group members are on the same page regarding the plot, however because most of us did one, we can also share ideas about different camera shots and sequencing to get a more we


Monday, 8 February 2016

Evaluation of practical task - Music production

As part of the diegetic soundtrack within our product, we decided to create our own music as not only could we have the exact soundtrack we wanted, we didn't need to worry about copyrights over the soundtrack as we made the track ourselves. Myself and Charley performed the piece and it was produced and edited by Amy and Tia. The song is called "living a lie" and as opposed to being parallel to the genre, we decided that a more upbeat track would make the conclusion to the particular scene seem more abrupt and would also sound more like something a teen girl would listen to when running.


 We started off by first being shown our way around the recording program by Charley's dad, who kindly lent us his studio and technical skills. And then went on to create a basic drum track which I could play along with as I can't keep time to a metronome which we realised after the first two hours of recording.

After creating the drum track, we went about recording the main guitar track for the song. This took some time but we eventually had the guitar track recorded to the standard we wanted and then set about recording the vocals.

Because we didn't have a vocal booth, a way in which we managed to reduce the background noise and vocal echos during recording, we ended up holding a duvet surrounding the microphone as a way of absorbing any vocal echos and as a shield to prevent any background noise coming from outside.


 After the first day of recording, Charley and her dad sat down together and created other backing tracks, including: bass, drums, secondary guitar, strings and a synthesized organ. On top of that, they created a harmony track which enabled me to have a vocal guide to help me harmonize with Charley's voice to make the whole recording sound neater.


The product we had at the end was then exported as an Mp3 file which we could later use as a compatible file format in imovie to use as the diegetic soundtrack for when the girl is running.

The lyrics and chord progressions for the song are:

Living A Lie

Verse    
I used to stay awake with you
Talking till two
I was in love with you
But you were blocking my view
And every single time you spoke
I couldn't cope
Never wanted to let go
But now I struggle with hello

Pre chorus

Just open your eyes
And you will see

Chorus

Now I'm flying
And I'm not crying
I'm living my life
Day to day
I want to find you now
Some place, some where, some how
I need to say goodbye
Cos we were living a lie

Verse 2

Do you remember the time
You lay by my side
I couldn't call it then
Never thought that it would end
And every time you smiled at me
I could never believe
This was never meant to be
The end of you and me

Pre chorus 2

Please just open up your eyes
And look at me 

Chorus

Because I'm flying
And I'm not crying
I'm living my life
Day by day 
I want to find you now 
Some place, some where, some how
I need to say goodbye
Cos we were living a lie

Middle 8

I wish that I had known
How much we had to grow
But it's okay
I was better alone anyway

Chorus

Now I'm flying 
And I'm not crying
I'm living my life
Day by day
I am flying
And I'm not crying
I'm living my life
Day by day
I want to find you now
Some place, some where, some how
I need to say goodbye

Cos we were living a lie

The chord progressions were:

Verse: Am, C, G, F x2
Pre chorus: G, F
chorus: C, Am, F, G, C, Am, F, Fm7
Middle 8: G, F, Am, G, G, F, Am, G

Storyboard Draft - Practical Task

As our initial idea has been adapted and changed into our final idea, I decided to do another storyboard, outlining the chain of events that will occur in our final opening scene. Although what is included is near enough the same, the order has been significantly changed, and so the storyboard below highlights the changes.


Shot 1 - shot of killer

Shot 2 - close up of victim

Shot 3 - close up of knife blade

Shot 4 - close up of hands being tied up 

Shot 5 - previous victim tied up

Shot 6 - victim screaming before death

Shot 7 - victim running through forest

Shot 8 - victim getting kidnapped

Shot 9 - victim in the boot of the car

Overall, we decided to change how our opening would be set out, with the castle scene first and then the kidnapping scene, because when it was the other way round, it didn't flow. There wasn't a very large build up in the running scene, but when the narrative flipped to the castle scene, the tension was already very high, so there was a sudden change in tone and suspense. We wanted this to change and so I suggested to put the castle scene first, setting the tone of the film and then having a '4 hours earlier' section, so the running scene would be foreshadowing the murder which the audience knows is going to happen. This should work much more effectively at setting the tone, but similarly the huge change in narrative and suspense won't have a great impact because the narrative is looking back on events which have already happened.